

Latest News
February 1, 2013
 |
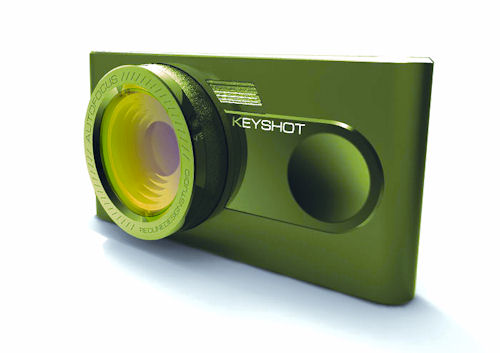 |
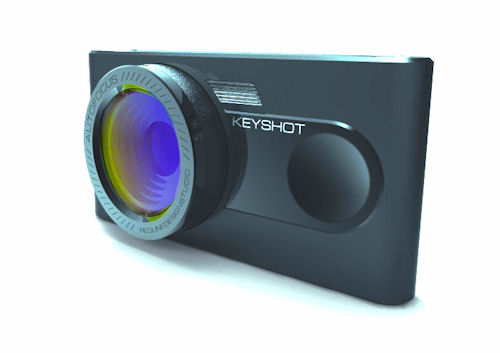
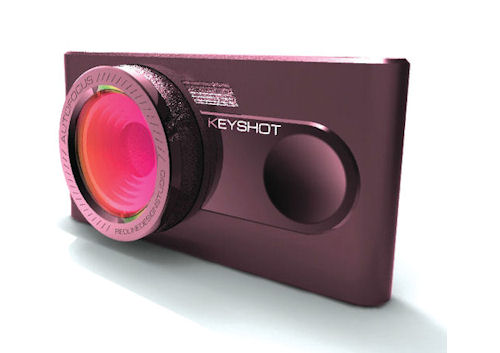 Three screenshots of the same model, with the environment color tweaked from shot to shot. |
With KeyShot, producing great renders is easy: Open a model, wait a few seconds, then click the screenshot button.
Always on
As soon as you load or import a model, KeyShot begins rendering it onscreen. In fact, KeyShot is always rendering, no matter what you’re doing in the program. Within seconds, you’ve got a pretty decent-looking render. Rotate the model, move the camera—make any change—and KeyShot begins re-rendering your scene.
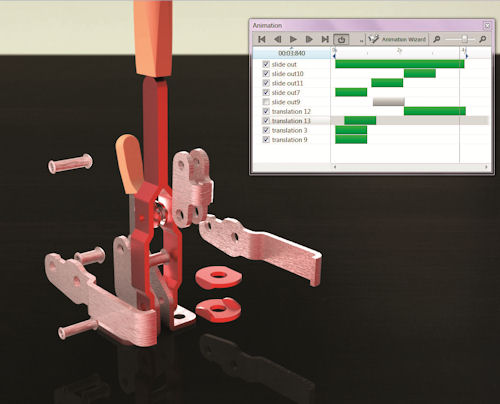 An exploded view animation in progress. Each animation appears as a green bar in the timeline, and can be moved, duplicated, resized and deleted interactively, while the animation runs. |
Even with the program continuously tracing rays, movement of (or around) your model is nice and smooth—although, of course, the model becomes blurry and low-resolution as the renderer is forced to start over from the beginning several times a second. As soon as you stop, the program, constantly rendering, begins to converge on a final image again. Within five or 10 seconds, it’s looking pretty darned nice.
When you’re happy with what you see, you can take a screenshot. If screen resolution isn’t adequate, you can also do a “real render at a higher resolution. That option is limited to 4.1 MP in the standard version of the program, but is unlimited in the Pro version. If you’re interested, you can get under the hood a little bit, tweaking the number of ray bounces, shadow sharpness and such—but, thankfully, you’ll probably never need to go there.
KeyShot is strictly CPU-powered. If you’ve got a Quadro card packed with GPU cores, that’s a little disappointing, but on a moderately current computer, the program is still really, really fast.
Importing Files
KeyShot is not a modeler; your 3D geometry will come from other programs. In addition to its own format, KeyShot will import a wide variety of 3D models, including SolidWorks, Solid Edge, IGES Pro/ENGINEER Wildfire, OBJ, STEP and Collada. I didn’t try them all. I had generally good luck with OBJ files and SolidWorks parts and assemblies, but generally poor luck with Collada (DAE) files, which were often accused of containing no 3D geometry.
Textures & Materials
It’s unlikely that your imported models will come into KeyShot looking their best. You’ll probably have to apply new materials to them. Fortunately, that’s easy. You can drag-and-drop materials from the library of presets onto your various parts, either within the rendered scene or in the scene’s object tree. That part’s material instantly changes onscreen. In fact, you get a preview of the material as soon as your mouse cursor touches a part, letting you confirm that you’re applying the right texture to the right part. Release the button, and the material is actually applied.
KeyShot comes with more than 600 materials, ranging from composites to anodized metals to metal flake paint to glass and precious gems. You can modify any of the material presets to create your own.
KeyShot gives you 20 basic material types to start with (plastic, metal, glass, matte, etc.), each with its own appropriate controls for fine-tuning. Flat materials, for example, only have color; metals have color and roughness; liquids have color, transparency and refraction. You’ll get nowhere near the amount of control over your materials as you do in, say 3ds Max, where you can create layered materials of almost unlimited complexity, but it’s more than sufficient for most tasks.
To help you optimize your pipeline, KeyShot lets you create texture templates that will automatically map imported texture X to KeyShot texture Y. You don’t have to manually apply, say, the shiny black plastic material to all your shiny black plastic parts; KeyShot will recognize the name of the imported material and automatically apply the correct KeyShot material. If you can pull in models with standardized material names, this will save you a ton of time.
KeyShot applies materials on a per-part basis. If your imported model isn’t broken up into different parts, there’s nothing you can do about it in KeyShot. Everything’s going to be the same material.
Lighten up
Good renders need good lighting, and good lighting can sometimes be difficult to achieve. KeyShot’s lighting comes from its high dynamic range (HDR) environment maps—spherical images of different environments ranging from the office to the desert. Drop in a photo studio environment and, voil , photo studio lighting.
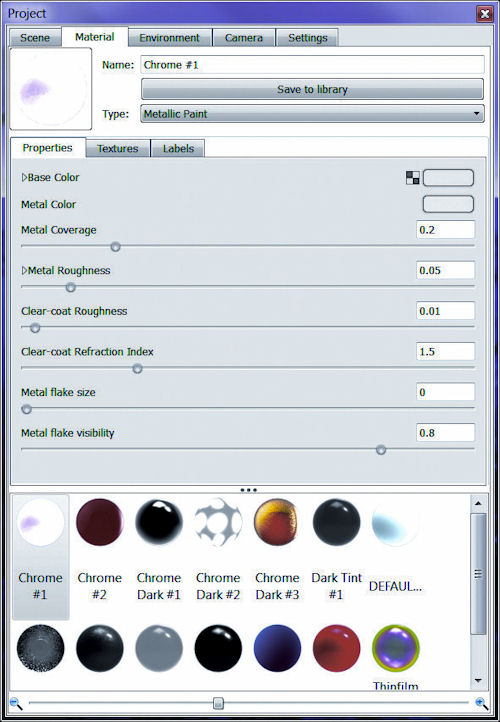 You can edit any of KeyShot’s 600-plus predefined materials to create your own. |
To change the lighting, you change the environment—by rotating or resizing it, by tweaking its brightness and contrast, or by replacing it with another environment altogether. KeyShot’s Pro version allows you to do some editing to the HDR image itself, changing the color cast, and pinning new light sources to the background.
If you really need them, you can create additional lights by importing simple objects (cubes, spheres, etc.) and applying luminous textures to them. You can also apply luminous textures to parts of your model—the headlights of a car, for example.
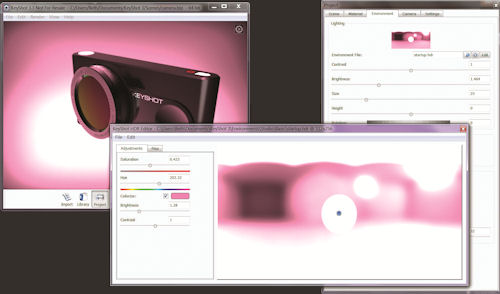 KeyShot lighting is provided by high dynamic range (HDR) images. You can adjust the positioning, contrast and brightness of the environments and, in the Pro version of the software, do some simple editing of the HDR image itself. |
Final Tweaks
For some final tweaks, you can add light bloom and vignetting, adjust the scene’s overall brightness and gamma, and fine-tune camera perspective and focal length.
Depth of field really adds realism to renders. With KeyShot, click on any point on an object to focus the camera there, then adjust the scene camera’s F-stop to achieve the desired depth of field effect.
KeyShot does not currently compute motion blur, but it has been promised for version 4, which is said to be ready sometime this year.
Animation
When static renders don’t suffice, there’s KeyShot’s optional animation add-on. You could call KeyShot’s animation capabilities limited, but it’s probably better to think of them as focused. KeyShot will animate simple translations and rotations. You can’t do, say, character animation, but you don’t do that anyway, do you? What you can do is produce animated exploded views, flip open a cell phone and fly models on- and off-screen.
| KeyShotVR If you’d like to share your renders with others, KeyShot’s optional KeyShotVR add-on produces high-quality, ray-traced 3D output that you can embed in any web page, allowing viewers to spin and zoom your models interactively. KeyShotVR starts by rendering out all the viewable angles of your model. Because everything is pre-rendered, KeyShotVR content doesn’t require any special plug-ins to run. You can play with some examples at KeyShot.com/vr. |
For the simplest types of animations—turntables, camera orbits, and zooms in or out—there’s KeyShot’s animation wizard, which will create your animation with just a few mouse clicks. If you need something a bit more complex and controllable, you can add translation and rotation animations to the model, or to individual parts within your model. Right-click on the part in the model tree, and choose Add Translation or Add Rotation. Drag the sliders around, and set the duration of the animation—for example, rotate 120 ° on the X-axis over two seconds. You can select easing in and out to add smooth acceleration and deceleration to your animations. You don’t have any control over the amount or duration of the ease, however, it’s either on or off.
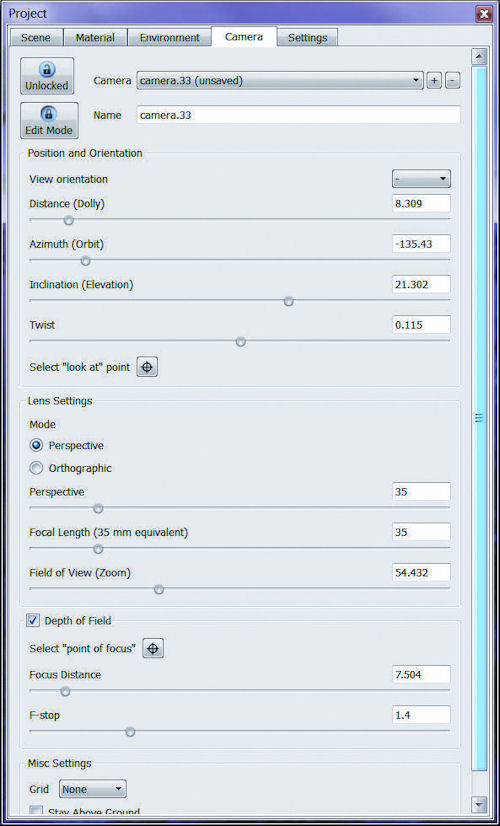 KeyShot’s camera settings are easily tweaked via a handful of sliders. |
If you’re doing an exploded view and need to move 20 different bolts 5 in. to the left, you can create the animation for one bolt, then select the other 19 and copy-and-paste the animation to them. Each bolt gets the same translation animation with a unique number appended to it: Translate01, Translate02, etc.
Open KeyShot’s timeline editor, and you’ll see all 20 animations there, represented by green bars. You can drag the bars forward and backward in time. Drag on either end of the bar to make it occupy either more or less time, slowing the animation down or speeding it up; as you drag, a pop-up gives you the current start and end times and the animation’s duration.
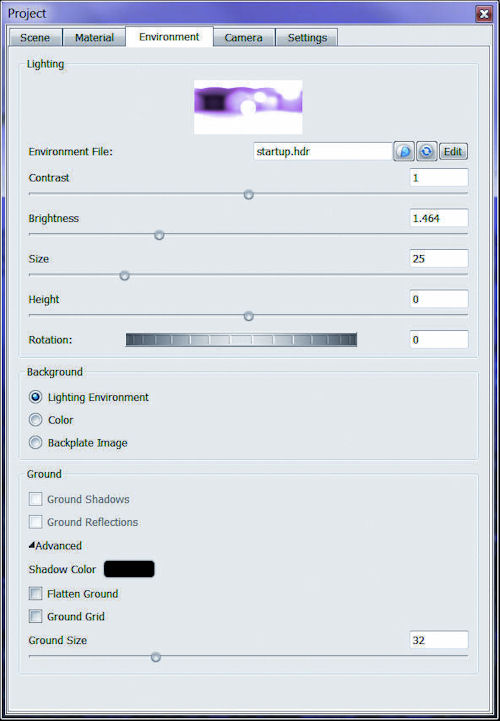 Lighting in KeyShot is provided by HDR environments. |
You can select multiple animations—all the transmission bolts, for example—and move or retime them as a group. You can also create folders of animations. As you slide the folders forward and backward in time, their contents follow along. If you drag on the beginning or end of the folder, all the animations within that folder scale up or down accordingly. You can easily duplicate and mirror animations, allowing you to un-explode your exploded view with relative ease.
It’s easy to end up with a timeline full of animations called Rotate01, Rotate02, Rotate03 and so forth. Clicking on an animation in the timeline will select its object in the scene’s object tree, and you can rename each animation (“Main Bolt Slide Left, etc.). Still, I’d like to see an option to view animations by object.
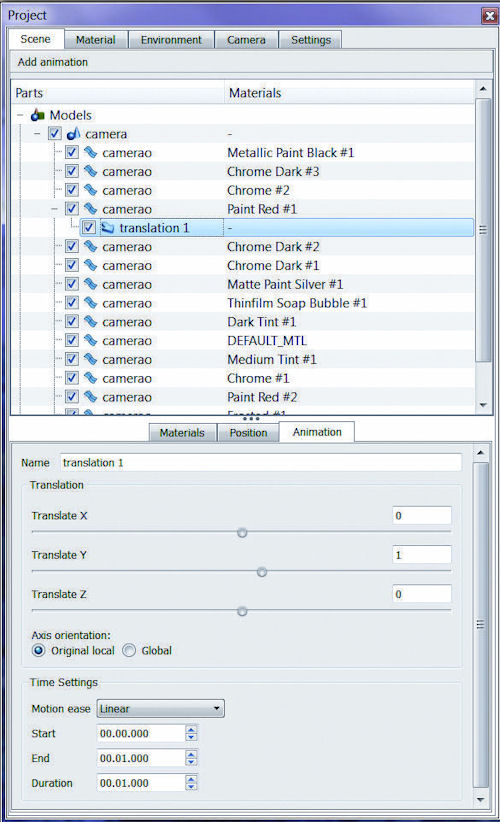 The Project Scene panel shows all objects in your model, along with the material currently assigned to them. To animate a part, right-click on it and choose Add Translation or Add Rotation. |
The screen updates constantly as you work. You can even start the animation running and drag things around in the timeline as it goes, re-timing individual animations and seeing the results in something approaching real time. In fact, you can change materials, lighting—anything at all—and instantly see the results.
The Bottom Line
Is KeyShot a good choice for you? Well, it’s easy to learn and fast to render, and time is money.
But money is also money, and KeyShot is pretty expensive, ranging from $995 for the basic version (no animation, limited render size), to $2,495 for the full-blown Professional Version with animation, network rendering, HDR editing, unlimited render resolution and more. If you want the KeyShotVR add-on (see previous page), you’re up to $3,495.
To decide for yourself whether KeyShot hits your personal time/money sweet spot, download the free trial edition at KeyShot.com/try. DE
Contributing Editor Mark Clarkson is DE’s expert in visualization, computer animation, and graphics. His newest book is Photoshop Elements by Example. Visit him on the web at MarkClarkson.com or send e-mail about this article to [email protected].
INFO
KeyShot 3.3
Price: $995 - $3,496 with add-on
Requirements:
- INTEL Pentium 4 processor or AMD or better
- Windows XP 32/64 bit
- Windows 7 32/64 bit
- Windows 8 32/64 bit
- OpenGL 2.x or higher
Subscribe to our FREE magazine, FREE email newsletters or both!
Latest News
About the Author
Mark ClarksonContributing Editor Mark Clarkson is Digital Engineering’s expert in visualization, computer animation, and graphics. His newest book is Photoshop Elements by Example. Visit him on the web at MarkClarkson.com or send e-mail about this article to [email protected].
Follow DE

