Latest News
October 14, 2010


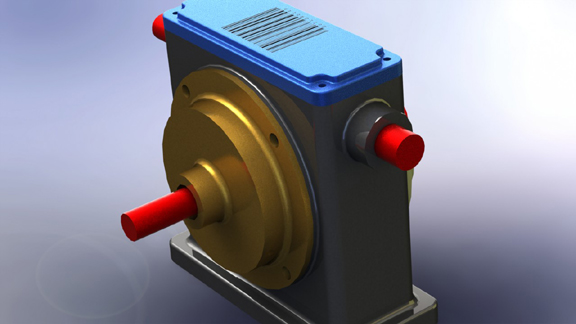
Since most mid-range CAD programs are almost neck to neck in geometry creation (let’s save the history-versus-direct debate for the next bout) , they’re now taking their duel to another arena: visualization. In the next release, SolidWorks drops PhotoWorks, replacing it with PhotoView 360.
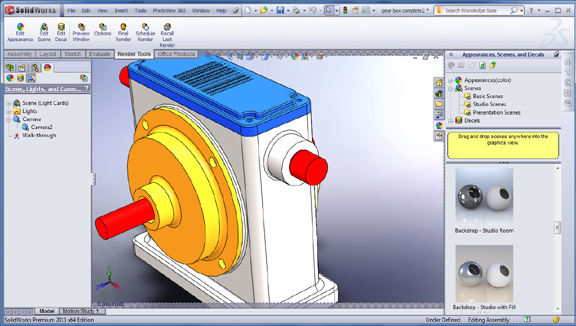
PhotoView is accessible through the SolidWorks Add-In menu. You may also choose to launch PhotoView every time SolidWorks starts, but this is bound to increase your program load time, so I’d recommend launching the program only when you’re ready to produce a rendering. If you’ve ever dabbled in rendering, you’d have no problem figuring out how PhotoView works. Its drag-and-drop interface is simple and straightforward. As you apply the material to an area, you’ll be given the option to apply it to a surface, a feature, or the entire subassembly.
As a CAD-integrated rendering program, PhotoView is quite efficient. You can open up its rendering menu, then start dragging and dropping materials and environments into your SolidWorks model. However, the way it works in SolidWorks 2011 is still a few degrees shy of a full integration. You still need to launch the preview window to see the effects of your materials on your model. Ideally, your modeling viewport should serve as the preview window for your rendering.
The same drag-and-drop method also works for decals. Resizing, stretching, and positioning decals on your model is fairly easy. You should, however, apply decal to an individual part rather than an assembly. It may be possible to apply a decal to the assembly if the entire assembly is made up of simple geometry, but in most cases your decal won’t look right unless you apply it at the part level.
Whereas you can rotate your environment (via the Advance tab in the Scene editing pane), you have no easy way to scale or resize the environment. It may not make a difference if you’re rendering your model against a nondescript backdrop (like a studio with checkered floor or a wooden surface). But when your model appears next to another object that’s part of the background (a tabletop lamp or a window, for example), you’ll wish you can resize the environment. Otherwise, your model may not appear in correct proportion to the rest of the scene.
This entry is based on my experience with SolidWorks 2011 Pre-release 1 code. For more, watch the video below and read my “Early Looks at SolidWorks 2011 Premium Beta.”
Subscribe to our FREE magazine, FREE email newsletters or both!
Latest News
About the Author
Kenneth Wong is Digital Engineering’s resident blogger and senior editor. Email him at [email protected] or share your thoughts on this article at digitaleng.news/facebook.
Follow DE


