Latest News
July 19, 2010
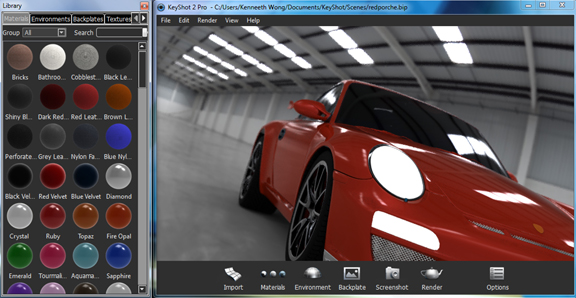
Last week, I tried out Bunkspeed SHOT, a rendering program meant for people who’re not used to sophisticated digital content creation packages. This week, I’m taking another Shot (so to speak).
Luxion’s KeyShot, now available in Version 2, is arguably the biggest rival to Bunkspeed SHOT. Both KeyShot and SHOT evolved from the rendering program previously branded HyperShot. Bunkspeed developed and marketed HyperShot, using the technology licensed from Luxion. But in November 2009, licensing talk broke down, causing a split.
Bunkspeed continues to offer the rendering program, rebranded as SHOT, powered by mental images’ iray rendering engine. Luxion now offers its own rendering program, branded KeyShot, powered by the original technology. What’s the difference? Here are a few:
- Bunkspeed SHOT relies on the hybrid CPU-GPU rendering. (mental images is now a wholly owned subsidiary of NVIDIA, resulting from the GPU giant’s acquisition in December 2007).
- Luxion’s KeyShot remains CPU-based.
- Bunkspeed SHOT is available only for Windows OS currently.
- Luxion’s KeyShot is available for both Windows and Mac.
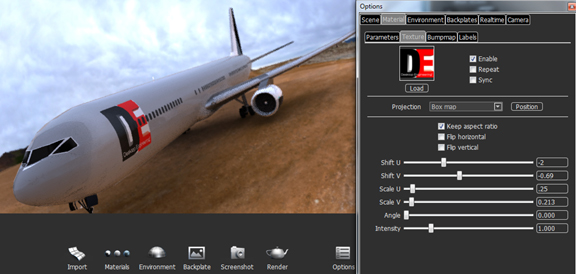
In KeyShot, you use the Options dialog box to adjust materials, environments, and background plates that have been applied to the scene. You may use this to, for instance, change the color of certain metallic paints or adjust the brightness of a HDRI (high dynamic range image) environment. The same dialog box gives you controls over depth of field, an easy way to pick the camera’s focus point and simulate blurriness in the distance.
If you need to project a decal or a 2D image onto your model (for example, a logo), you can upload the image as texture or label to the material. To position the decal correctly, you can choose several options: UV mapping, box mapping, spherical, cylindrical, and so on. Using sliding bars to adjust the UV mapping is, at least to me, not that easy to do. Ideally, I’d like to drag and drop the image onto the area of the model where I’d like it to appear, but for some reason this option is not available in most rendering programs I’ve come across.
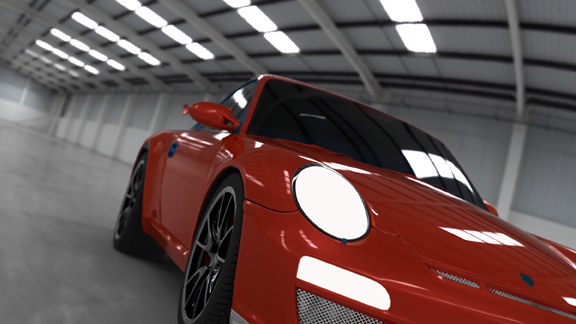
In KeyShot, you can turn almost any material into emissive material via the Edit dialog box in Options. This function lets you render certain objects, like vehicle headlights and lamps, more realistically. But no pre-made emissive materials come with the library. Adding a set of emissive materials in the default library in the next release will go a long way to simplify the workflow.
Depending on your CPU horsepower, you may want to adjust the real-time display settings, under the Options dialog box. If you choose to work in a bigger program window in higher resolution with greater light bounces, the program will require more time to update whenever you edit your scene. By contrast, dropping the settings to a bare minimum will speed up response time, but you may not get a clear idea how the final rendering will look from the smaller preview.
KeyShot maintains the tradition that began with HyperShot—to offer a simplified renderer for those who’re not familiar with typical rendering jargon. The latest version comes with a host of interface improvements that make scene editing and set up a lot easier. If you have 3D assets that could potentially be turned into marketing collateral, and you’re a fan of CPU rendering, KeyShot may be just the thing to unlock your inner photographer.
For a review of Bunkspeed SHOT, read the blog post here.
For a comparison of the renderings produced in Bunkspeed SHOT and Luxion KeyShot, view images here.
For more renderings created with Luxion KeyShot, visit DE Exchange photo album here.
Subscribe to our FREE magazine, FREE email newsletters or both!
Latest News
About the Author
Kenneth Wong is Digital Engineering’s resident blogger and senior editor. Email him at [email protected] or share your thoughts on this article at digitaleng.news/facebook.
Follow DERelated Topics

